
A Guide to Photography on the Camino de Santiago
As a dedicated hobbyist photographer, taking great photos on the Camino de Santiago was very important to me. I knew that my five weeks of walking across Spain would produce countless opportunities for interesting pictures, so I thought long and hard about which type of camera to take with me, and was diligent about looking for great photo opportunities while walking. In my opinion, my efforts paid off: I’m proud of the photos I got, and they’ll help me to remember my Camino for years to come.
If you’re also planning to walk the Camino de Santiago, you might be wondering how to get some good photos of your own! If so, I’m here to help.
In this post, I discuss the top options for which type of camera to take on the Camino (and tell you what I chose!), recommend the best photography gear for the Camino, and offer specific tips about how to take and edit great photos on the Camino de Santiago.
Want to read more about the Camino?
Find my complete travel guide for the Camino de Santiago here.
This post contains affiliate links. If you make a purchase or a booking through one of these links, I may receive a small commission at no extra cost to you. Thanks for supporting In Old Cities in this way!
How to Choose Which Camera to Take on the Camino
There are three main categories of camera that you might consider taking on the Camino: your smartphone, a point-and-shoot, and a DSLR or mirrorless camera with interchangeable lenses.
Below, I’ll run through what I see as the pros and cons of each category. Then, I’ll tell you (1) what I personally chose, and (2) what I recommend for most pilgrims! (Spoiler: what I chose and what I recommend are not the same!)
Best Camera Options for the Camino
(1) Smartphone Camera
In terms of cameras on the Camino, this is easily the most popular choice; most pilgrims take nothing more than a smartphone.
This makes perfect sense, as phone cameras are great these days — sometimes incredible, even — and it’s completely possible to take excellent photos on the Camino with your phone.
Pros of choosing your smartphone camera include:
- You’re almost certainly taking your phone on the Camino anyway, so planning to use its camera adds no weight to your pack, and has the benefit of simplicity (nothing extra to worry about losing or damaging!).
- Phone cameras are easy to operate no matter your photography experience.
- If you want more flexibility in terms of focal lengths and effects than your phone offers on its own, you can bring lightweight lenses — like these or these — that attach to your phone.
Cons of choosing your smartphone camera include:
- Quality. Yes, camera phones can be great these days, and photography is as much about the photographer as it is about their gear — but the same photographer will simply produce better images with a “real” camera than with a smartphone (more often than not, at least). If all you’re looking for is great photos for your memories and maybe for social media, your phone will do the job. But if you plan to publish your photos anywhere else (like I’m doing on this blog), a higher quality camera will go a long way.
(2) Point-and-Shoot
Point-and-shoot cameras are easy-to-use cameras with limited settings (usually), and are often quite compact. Prior to smartphones, many people owned point-and-shoots as an easy way to take decent photos without learning the ins and outs of more complicated cameras, like DSLRs (more on those below).
Pros of choosing a point-and-shoot include:
- They’re typically small and lightweight, making them easy to carry.
- Despite their size and (sometimes) limited settings, they can produce excellent images.
- They are typically easy for anyone to use, no matter the level of photography experience.
- Some are waterproof, which can be helpful on the Camino.
Cons of choosing a point-and-shoot include:
- Some have only digital zoom (rather than optical zoom), which lowers the resolution of photos using zoom.
- Some point-and-shoot cameras have limited focal length options.
- Some point-and-shoot cameras cannot shoot in RAW, which may be a drawback for more serious photographers
While smartphones have shrunk the market for point-and-shoot cameras — as many people who otherwise might have wanted to own a small, basic camera now have their phones for that — many great point-and-shoots are still available, and are excellent options for the Camino. In fact, I met a handful of people who were carrying compact point-and-shoot cameras on my Camino, including at least two professional photographers who swore that point-and-shoots were the best type of camera for pilgrims!
Notably, “point and shoot” encompasses a very wide range of price points, camera abilities, sizes, and more. Some point-and-shoot cameras are very inexpensive and simple cameras, while others are high-end mirrorless cameras that even professionals might use in some situations. Also, some are quite compact (which is great for the Camino!), while others are larger and heavier.
If you’re interested in buying a point-and-shoot camera for your Camino, here are some options you might consider:
- $: KODAK PIXPRO WPZ2. This is a very inexpensive camera with basic settings. Its real benefit, in terms of the Camino, is that it is waterproof, shockproof, and dustproof (and more).
- $: Canon PowerShot ELPH 360 HS. Do you just want a no-frills, basic point-and-shoot that anyone can use? Take a look at the Canon PowerShot ELPH 360 HS, which produces great images in a super straightforward camera body.
- $$: Olympus Tough TG-6. A professional photographer I met on my Camino was carrying this camera! (He loved it.) Like the Kodak PixPro, this one is waterproof, dust proof, and shock proof.
- $$: Canon PowerShot G7X Mark III. The Canon Powershot G7X Mark III is a compact camera with a generous zoom lens, a solid touchscreen, and simple settings.
- $$$: Sony RX100. This is a premium point-and-shoot camera, and it has the price tag to prove it — but users rave about the image quality and fast lens, all packed into a very compact camera frame. (Consider buying an older model to save some money.)
- $$$$: Fujifilm X100V. This is another high-end point-and-shoot, with an even larger price tag than the Sony RX100. Notably, it does have manual settings, which experienced photographers may appreciate, but it also produces wonderful images even when all settings are on auto. This camera is less compact than many less expensive point-and-shoots and therefore is also heavier. If you like the Fujifilm X100V but balk at the price, consider getting an older model in the same line, like the X100F.
(3) Interchangeable Lens Camera
If you are serious about your photography, you might consider carrying a DSLR or other (such as a mirrorless) camera with interchangeable lenses.
Pros of choosing a camera with interchangeable lenses include:
- Your photos will be great quality.
- If you carry multiple lenses, or one versatile zoom lens, you can have a wide variety of focal lengths. This would be very useful on the Camino, where you will encounter a huge range of types of scenes. (For example, you might want a telephoto lens to capture towns in the distance, a wide angle lens for cathedral interiors, and prime lenses for portraits of people or animals you meet along the way.)
- You can shoot in RAW or JPEG (or both).
Cons of choosing a camera with interchangeable lenses include:
- They’re heavy! Some are heavier than others, to be sure, but any camera with interchangeable lenses is going to add a notable amount of weight to your total burden (the more lenses, the more weight). And, unless you have a pancake lens on the camera (in which case, why not just take a point-and-shoot?), it’s going to be at least a little bit bulky and might be difficult to carry, especially if you want to have the camera handy while also using walking sticks. (I saw one person carrying a large DSLR with a long lens, and I really do not know how it didn’t drive him crazy!)
- Theft and damage are real concerns. While theft is not common on the Camino, you will not do yourself any favors by carrying around a conspicuously expensive piece of equipment. Plus, you will be walking for long distances outdoors in all kinds of conditions (dealing with rain, dust, rocks, etc.). How much damage are you willing to tolerate when it comes to your camera and lenses?
The Camera I Chose to Take on the Camino
I have two Fujifilm cameras — a Fujifilm X100V (mirrorless point-and-shoot) and a Fujifilm XT-4 (mirrorless with interchangeable lenses). I also have an iPhone 14 Pro. I debated with myself for months about which of these cameras to take on the Camino. Here, in great detail (!), was my decision process.
Should I take only my smartphone?
Truthfully, I never seriously considered taking only a phone. I’ve traveled with just my phone in the past, and while I have photos I enjoy from those trips (you can see some of them on this blog!), they simply don’t compare to the quality I get out of my Fujifilm cameras.
The other cons are also real cons for me: I love editing photos, which means I shoot in RAW. While some camera apps let you do that now, you’re still not starting with the same quality of data. And, since I knew I would be publishing Camino photos on this blog, I wanted them to be high quality.
There’s also this: some people advocate for taking just your phone because taking a real camera enhances the risk that you’ll be focused on photos and miss being in the moment — that you’ll only create photos, not real memories.
But for me it’s the opposite: taking photos helps me to be present. When I’m taking a photo, I’m intensely focused on all sorts of aspects of the scene in front of me. I’m paying attention to the big elements and small details in it, and noticing what I’m seeing so I can figure out how to frame the shot. And then I have a photo to remember that precise moment even more clearly. Plus, having my photo brain on means I’m actually thinking more about what’s around me — I’m looking around for notable or interesting things, rather than getting sucked into my own thought vortex.
So, I felt comfortable ruling out the option of taking only my phone.
Should I take a point-and-shoot?
Next option: point-and-shoots. My Fujifilm X100V is a premium point-and-shoot, with both auto controls and optional manual settings. It’s not a compact camera, which would generally be my preference for the Camino. But I did not really consider buying a compact point-and-shoot, given that the X100V is still reasonably small and light, and the idea of spending money on a camera that I planned to use only on the Camino had little appeal.
So, what about taking my Fujifilm X100V on the Camino? Well, it takes beautiful photos and I’ve traveled with it before — I know what it can do and how great it can be.
But because it has a fixed lens, it’s also limited. Even with a (heavy!) wide angle conversion lens attached to it, the widest it gets is only a 28mm equivalent. That’s wide enough for most photos, but I sometimes wish it was wider — especially when it comes to sweeping landscapes and cathedral interiors, both of which I expected to photograph a lot on the Camino.
The X100V digital zoom is also not my favorite. The quality of digital zoom (at least on the X100V!) is woefully inferior to optical zoom, and this particular camera, at least, only offers three zoom points. Plus, annoyingly, the zoom data doesn’t save to RAW files (which is all I shoot), so even if I zoom in while taking the photo, my RAW image will just show me the original framing anyway. This adds some annoyance to the editing process and kind of makes the digital zoom useless in the first place.
Should I take my interchangeable lens system?
On the other hand, my XT-4 system would give me any focal lengths I want, as well as optical zoom — but would mean carrying more weight, simply because it’s heavier. And the more lenses I opt to take, the heavier it would be. It also means more expensive gear to worry about losing or damaging (and I am speaking as a person who once dropped and broke her parents’ point-and-shoot in front of the pyramids on day two of a semester abroad…).
These are very real concerns on the Camino. You’re walking for miles on often dusty ground, or in the rain. You could trip and fall, or fail to protect your camera from the elements. You may sometimes (or always) stay in albuerges — hostels, where dozens of pilgrims may be sleeping in the same room — and have to think about protecting your gear while showering and sleeping, or simply hope that no one steals it.
There’s also something to be said for simplicity and paring down your options on the Camino. If you don’t need to think about changing lenses, that’s one less thing to occupy your mind during a time that can be, if you want, very meditative and freeing.
My decision!
This was a very difficult decision. Ultimately, I chose my X100V, and here’s why: weight and simplicity. That’s it! For a time, I had talked myself into taking the XT-4, but at that time I was planning to mainly stay in private rooms and pay for luggage transfer to ship my bag ahead each day. When I decided instead to mainly stay in dorm rooms in albergues and to carry my own bag each day, the XT-4 had a lot less appeal.
So, I opted to pare down the weight of my camera equipment (and simplify my experience) by taking my X100V.
Did I make a good choice?
Yes! I feel great about my choice to take my Fujifilm X100v on my Camino. I’m really happy with the photos I got and my camera was easy to carry on my backpack without getting in my way (more on how I did that below).
True, on the rare occasion that I ran into a fellow pilgrim who had brought a DSLR with all kinds of wonderful focal length options, I felt a little jealous of the photos they were surely getting. But watching them juggle their large cameras along with their bags and their walking sticks, I certainly never wished I actually had my XT-4 with me. I was quite happy with my fairly minimal setup and ease of carry!
Which Camera YOU Should Take on the Camino
For most people, I do genuinely recommend simply taking your smartphone (assuming your phone has a decent camera). The cameras on most modern smartphones are enough for most pilgrims to take great photos on the Camino, and the lightness and simplicity of carrying just your smartphone cannot be beat.
If you want to take a “real” camera on the Camino, and you don’t already own one, I recommend selecting a compact point-and-shoot like the Canon PowerShot G7X Mark III or the Olympus TG-6. These cameras are small and light, but will still take great photos regardless of your photography experience.
I do not recommend taking a camera with an interchangeable lens system unless (1) that’s what you already own, (2) your camera body is not heavy, and (3) you have pancake lenses, including one with a decently wide angle. As I said above, whenever I saw a pilgrim with a large camera on the Camino, it looked like a real burden.
Best Photo Gear for the Camino
Regardless of which camera you choose, you can make it easier to take great photos on the Camino by carefully selecting a few pieces of helpful gear. Keep in mind that each item you take will add weight, so only carry gear that is necessary to achieve your photography goals!
Camera clip
If you do choose to take a camera other than your smartphone, I strongly recommend finding a way to carry it on your backpack or your body. If you carry your camera inside your backpack, you will have to remove it every time you want to take a photo. This gets very annoying very quickly (depending on your backpack, it may be a whole production!) and probably means you will take fewer photos or miss some nice shots.
My top recommendation is the Peak Design Capture Camera Clip. I walked with one of these and I LOVED it! When I saw something I wanted to capture, it was extremely easy to take a photo in seconds without removing my backpack or interrupting my stride for more than a few moments.
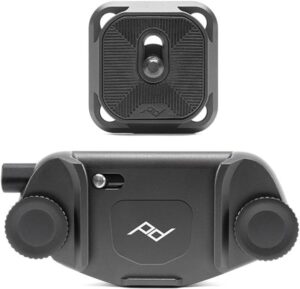
The Peak Design clip comes in two pieces: a plate that you screw onto the bottom of your camera, and a clip that you attach to your backpack strap. Once these pieces are in place, you can easily secure the camera (via the plate) onto the clip so that the camera is attached to your backpack strap. To take a photo, you just release a simple button and the camera is free. Watch this Peak Design YouTube video to better understand how this works:
Here is what my camera looks like when it is attached to my backpack strap using the Peak Design clip:

As you can see, I always walked with my camera strap around my neck just in case something broke and the camera plate somehow detached from the clip (this never happened).
Camera case
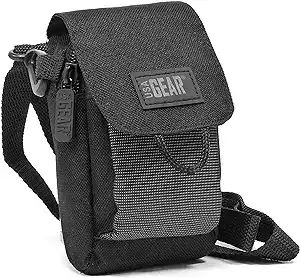
When I was not walking, or if it was drizzling or raining, I kept my camera in this lightweight, neoprene case. This way, it was easy to safely carry my camera within my backpack (or my day bag, if I was done walking for the day).

Belt case
As an alternative to the camera clip, if you take a smaller camera, like a compact point-and-shoot, you may want to carry your camera in a small case that attaches to your belt loops. (This depends, of course, on what you plan to wear on the Camino!)
Smartphone lenses
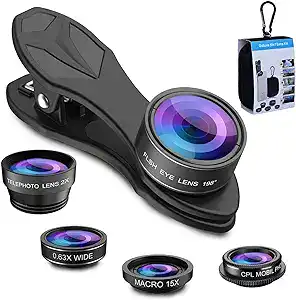
Are you planning to walk the Camino with only your smartphone? If you’d like to jazz up your photo options a bit for just a little extra weight, consider carrying a set of lenses that you can clip onto your phone’s built-in camera lenses — such as these or these.
Smartphone lenses like these can expand your focal length options, improve your macro photos, add fun effects, and more.
SD converter
If you walk with a camera that records its photos onto SD cards, you will need a way to transfer your photos from the SD card onto your phone. I use this small converter device — I plug the SD card into one end and the other end goes directly into my phone, making it a breeze to download my photos directly onto my phone.

Another option, if you don’t want to buy an item like this, is to carry enough SD cards to hold the photos you might take on the Camino, and transfer your photos to your computer and other storage destinations when you get home. However, I do not recommend this method because of the risks that you might lose or damage your SD cards along the way. Imagine if you lost all your Camino photos and they weren’t backed up anywhere! For this reason, I always downloaded my photos to the cloud each day as I walked, and my SD converter was necessary for this.
Microfiber cloths
If you walk the Camino with any camera other than your smartphone, be sure to carry a few microfiber cloths with you. Your camera lens is extremely likely to pick up some dust, smears, or other undesirable elements along the way, and you’ll want to remove them safely and easily. I like these extremely lightweight cloths.

Protective cover
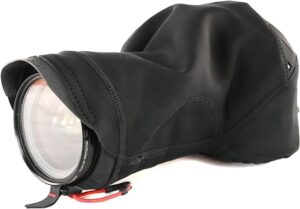
You might consider walking with a protective camera cover, like this one from Peak Design. I whipped out my Peak Design cover whenever it drizzled or if the path was particularly dusty.
How to Take (And Edit) Great Photos on the Camino with Any Camera
Even if you have no photography experience, you can take great photos on the Camino with any camera you choose. Here are a few basic tips for improving the quality of your Camino de Santiago photography!
Remember the rule of thirds.
The “rule of thirds” provides an easy way to create balanced and visually pleasing compositions.
To follow the rule of thirds, imagine a grid with two vertical lines and two horizontal lines is placed over your photo like this:

With that grid in place, you generally want important elements of your image to fall along these lines and at the places where they intersect.
For example, when photographing a landscape, try not to place the horizon in the middle of the photo — instead, put it where one of the horizontal lines in the grid would fall.
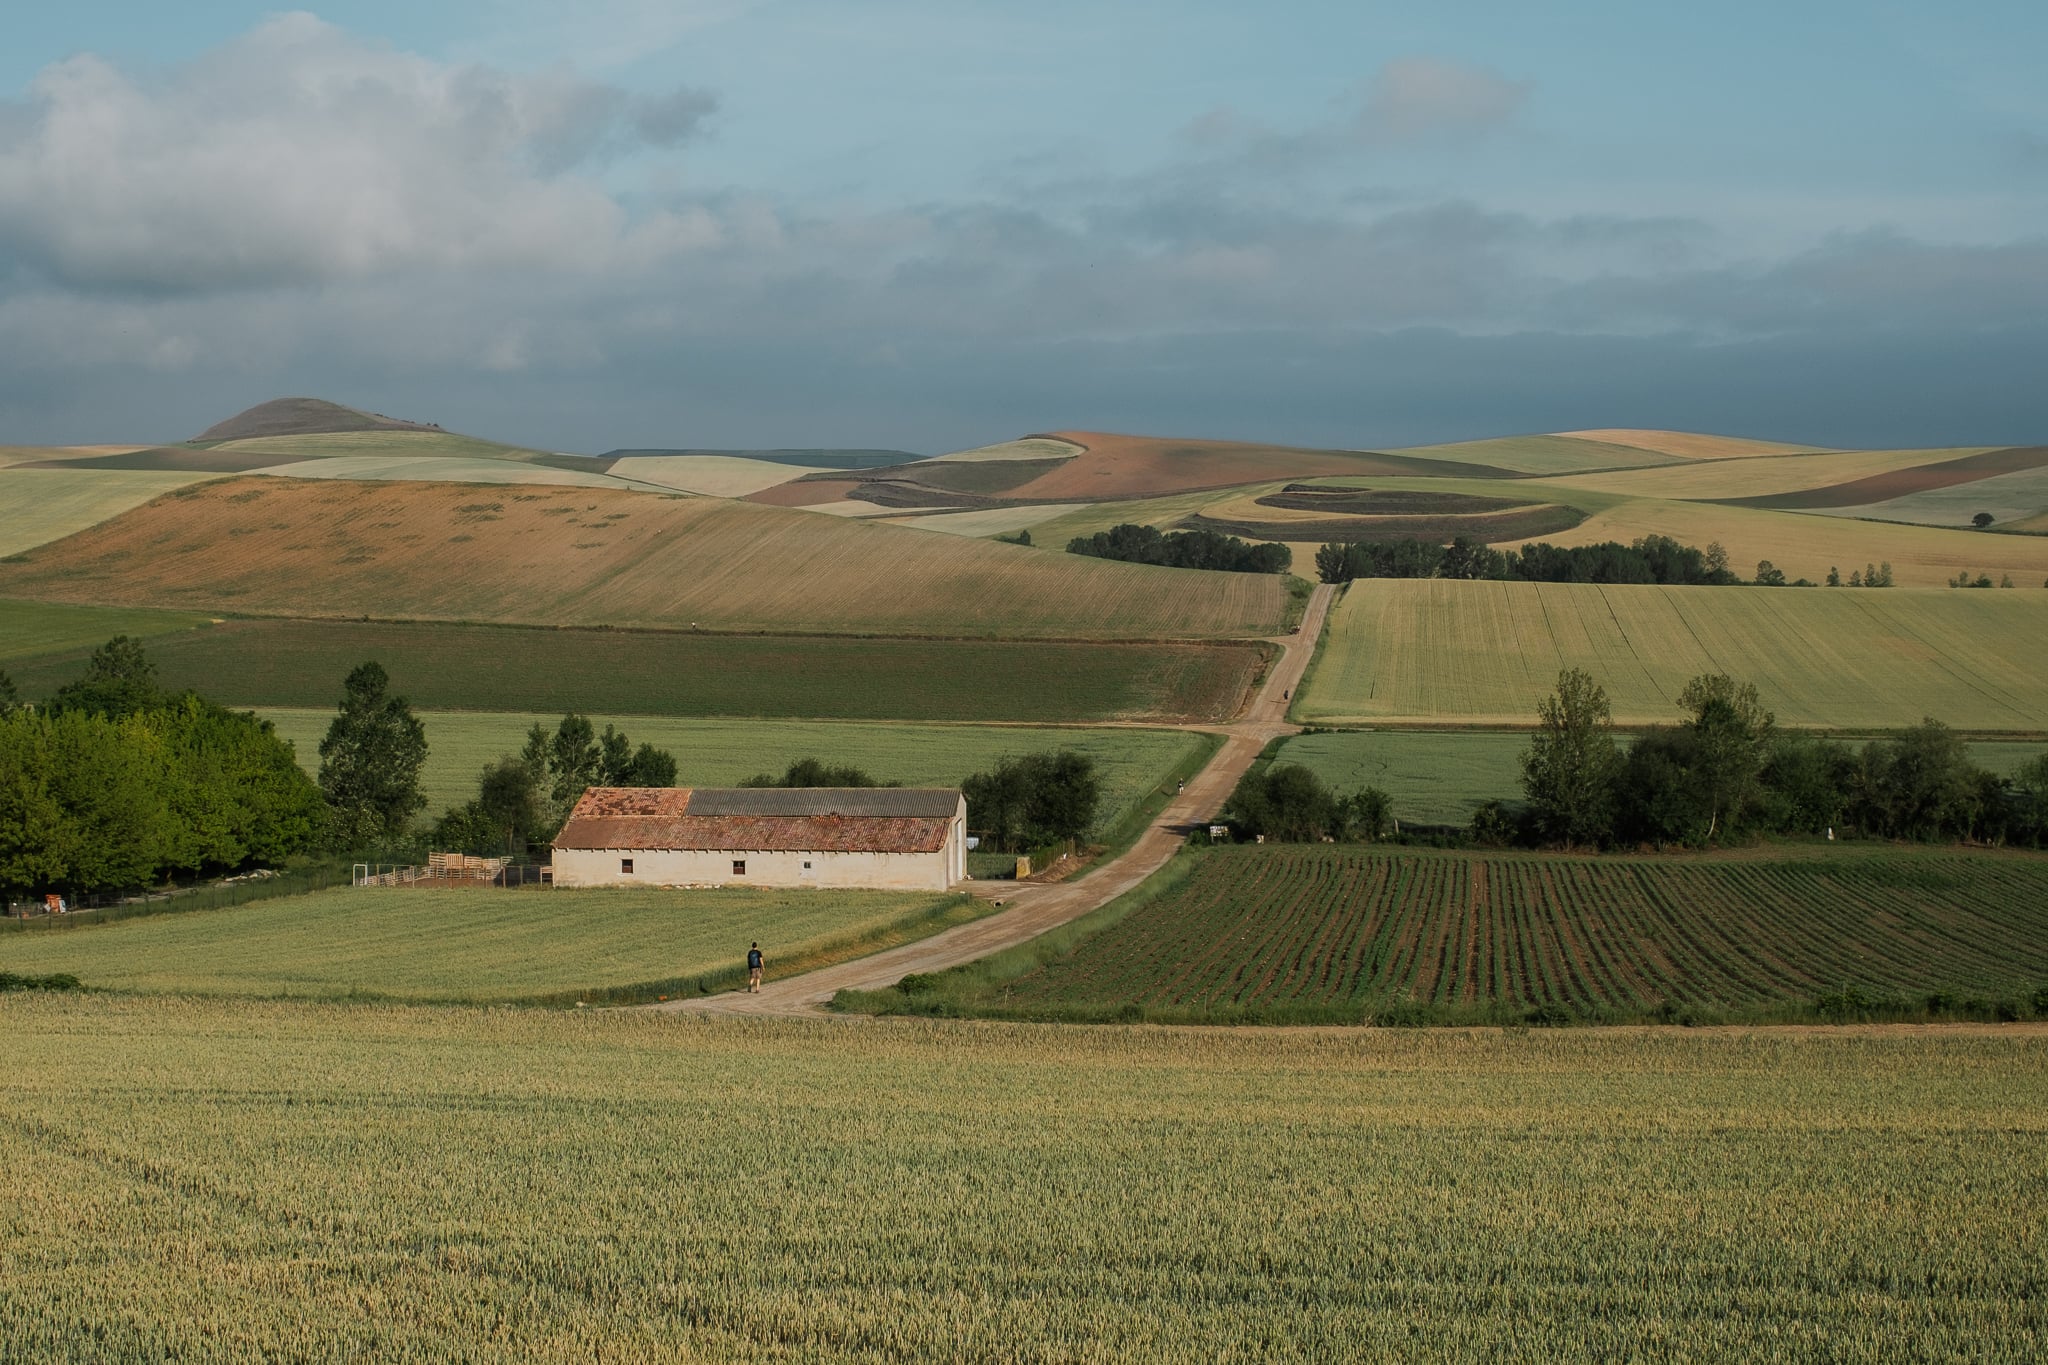
Likewise, consider placing your subject (or an interesting visual element) at one of the four points in the grid where the horizontal and vertical lines intersect.


Keep in mind that you don’t always need to follow the rule of thirds — there are definitely times to break the rule, and place subjects in the middle of a photo (for example). I do it often! But it can be a very helpful way to liven up an otherwise straightforward shot.
Find perspective.
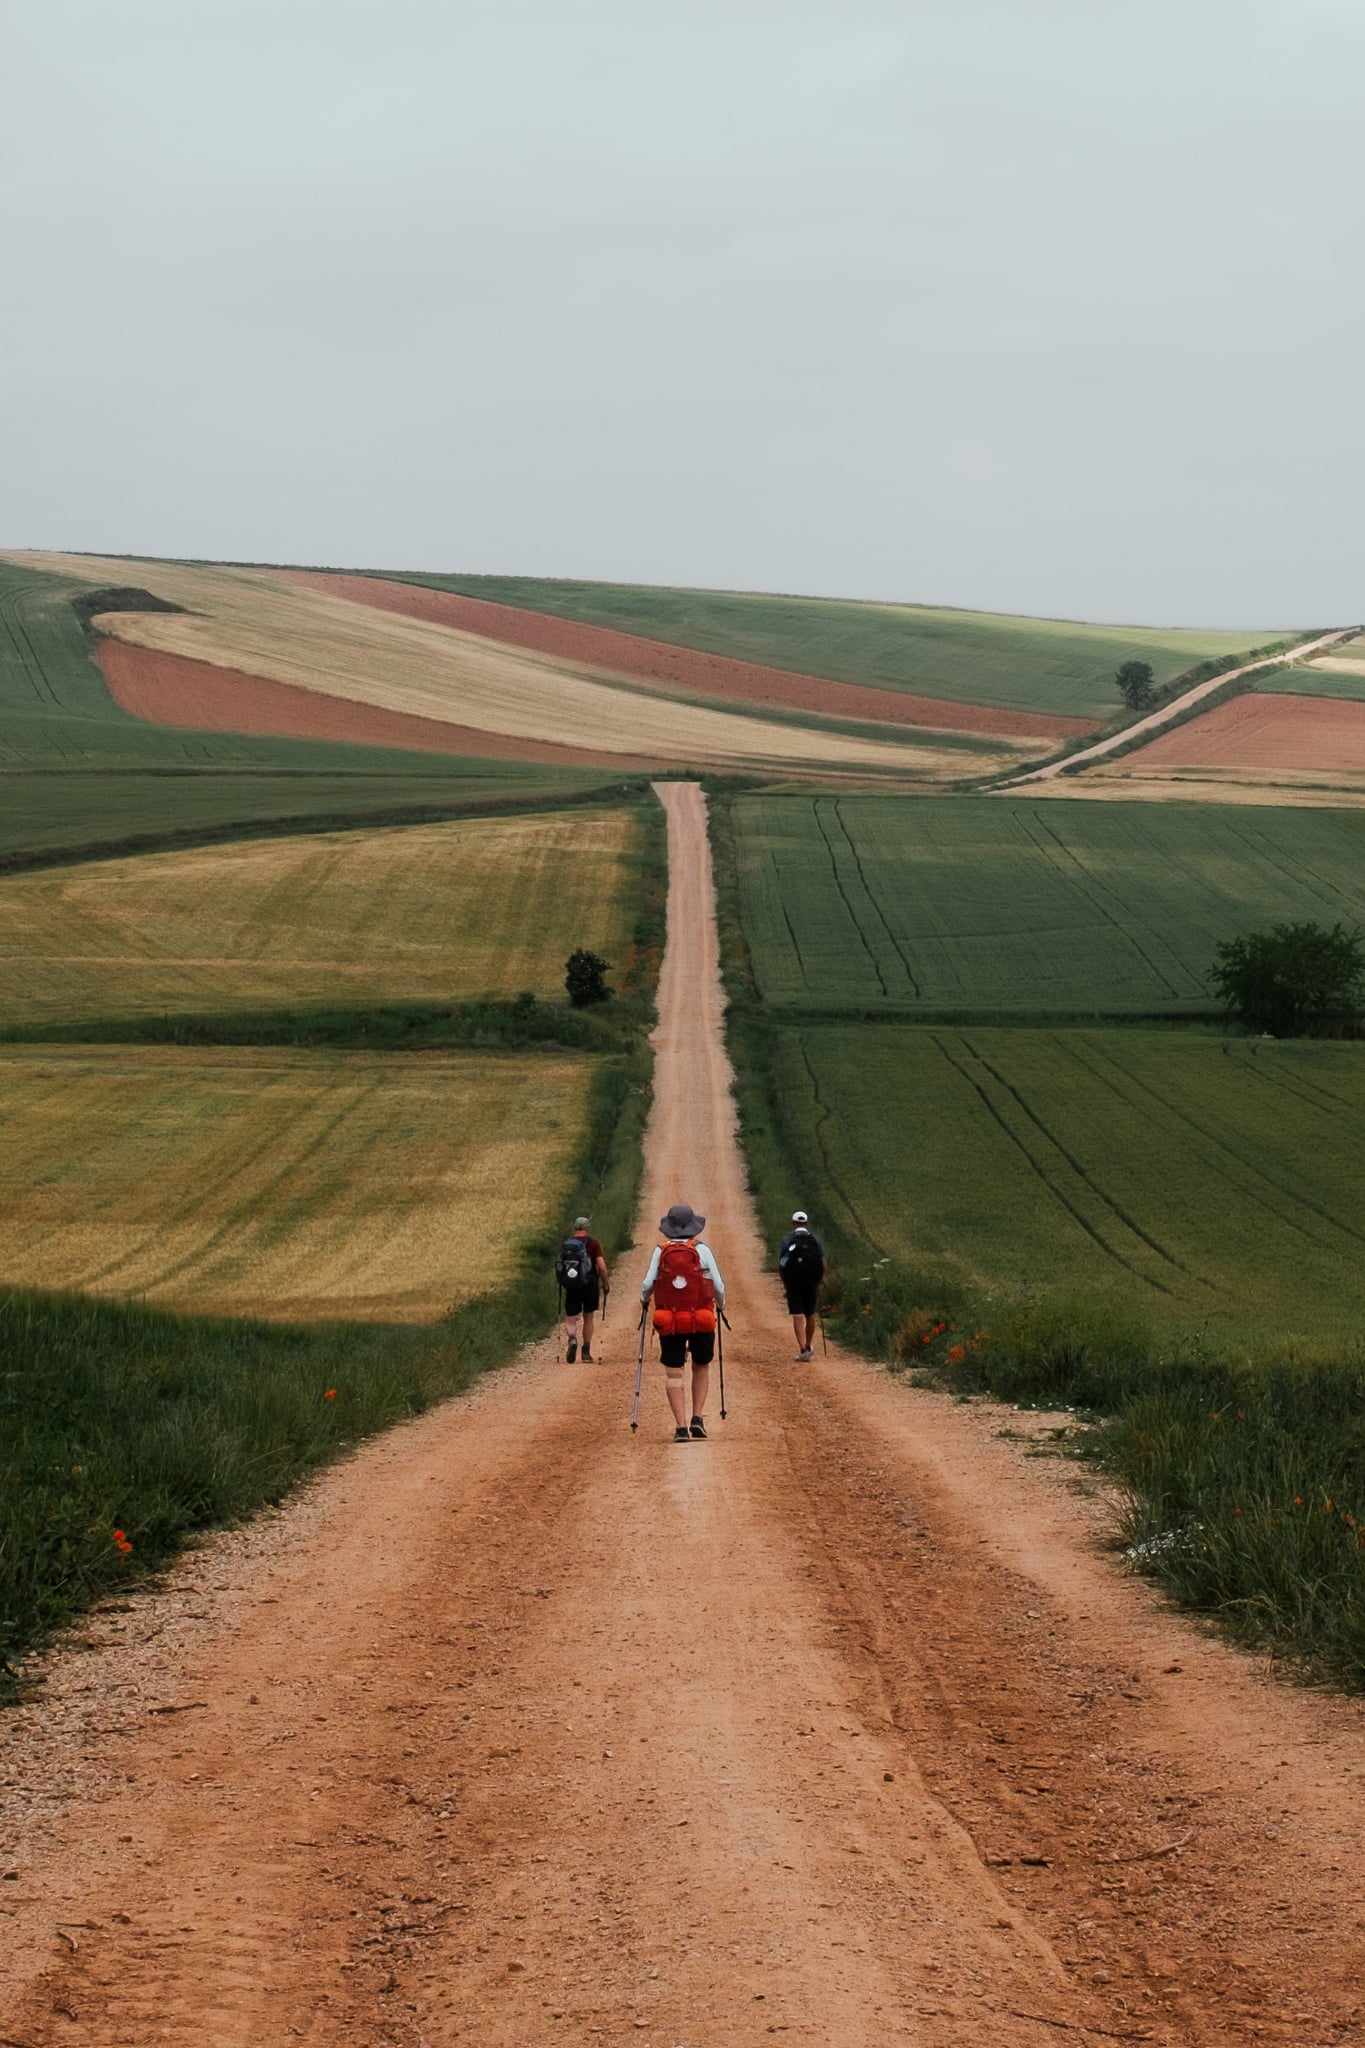
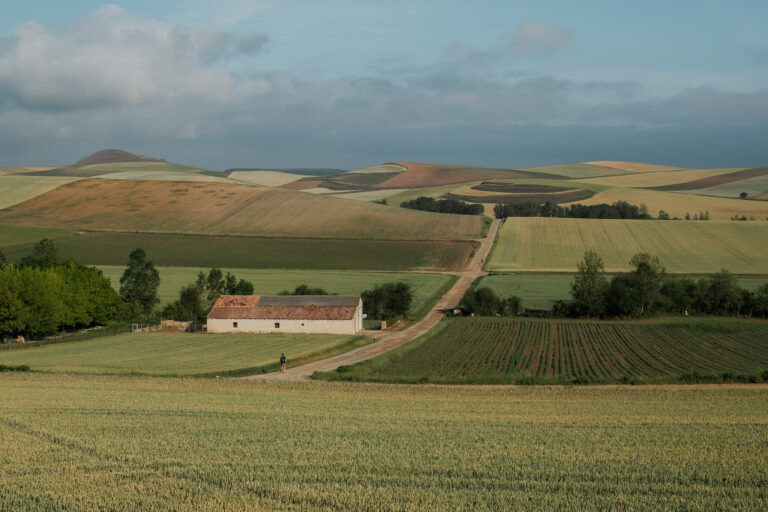
On the Camino, where so many views are of sweeping landscapes, it can be very helpful to incorporate elements that provide perspective and context for the scale of your image.
Luckily, this is easy to do on the Camino because other pilgrims are usually around! Things like animals and trees can also help you here.

Look for interesting frames.
I love to liven up my images by looking for interesting ways to frame my subjects.
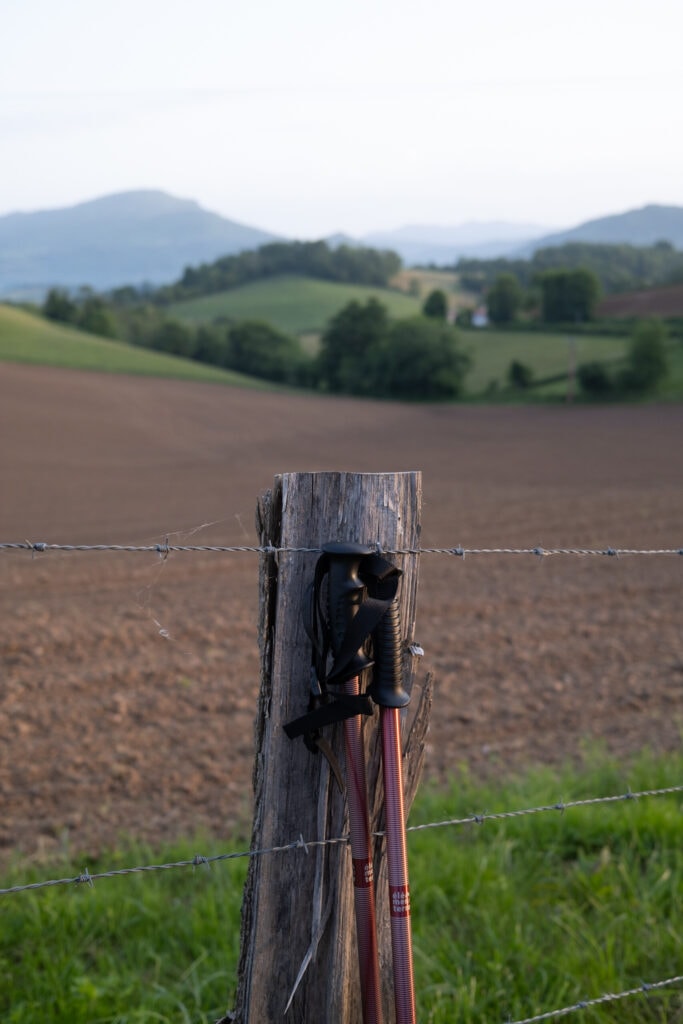
Sometimes this means literal frames, like when I find windows or arches, but it can also mean looking for things like plants that can add some interest to the edges of my image.


Don’t be afraid to zoom in.
On the Camino, you might be tempted to take a lot of wide shots that show the beauty of the landscapes around you. And rightly so! But don’t be afraid to really zoom in and focus on one element of what you’re seeing.
This is also a nice way of paying attention to the details around you!


Shoot at golden hour.
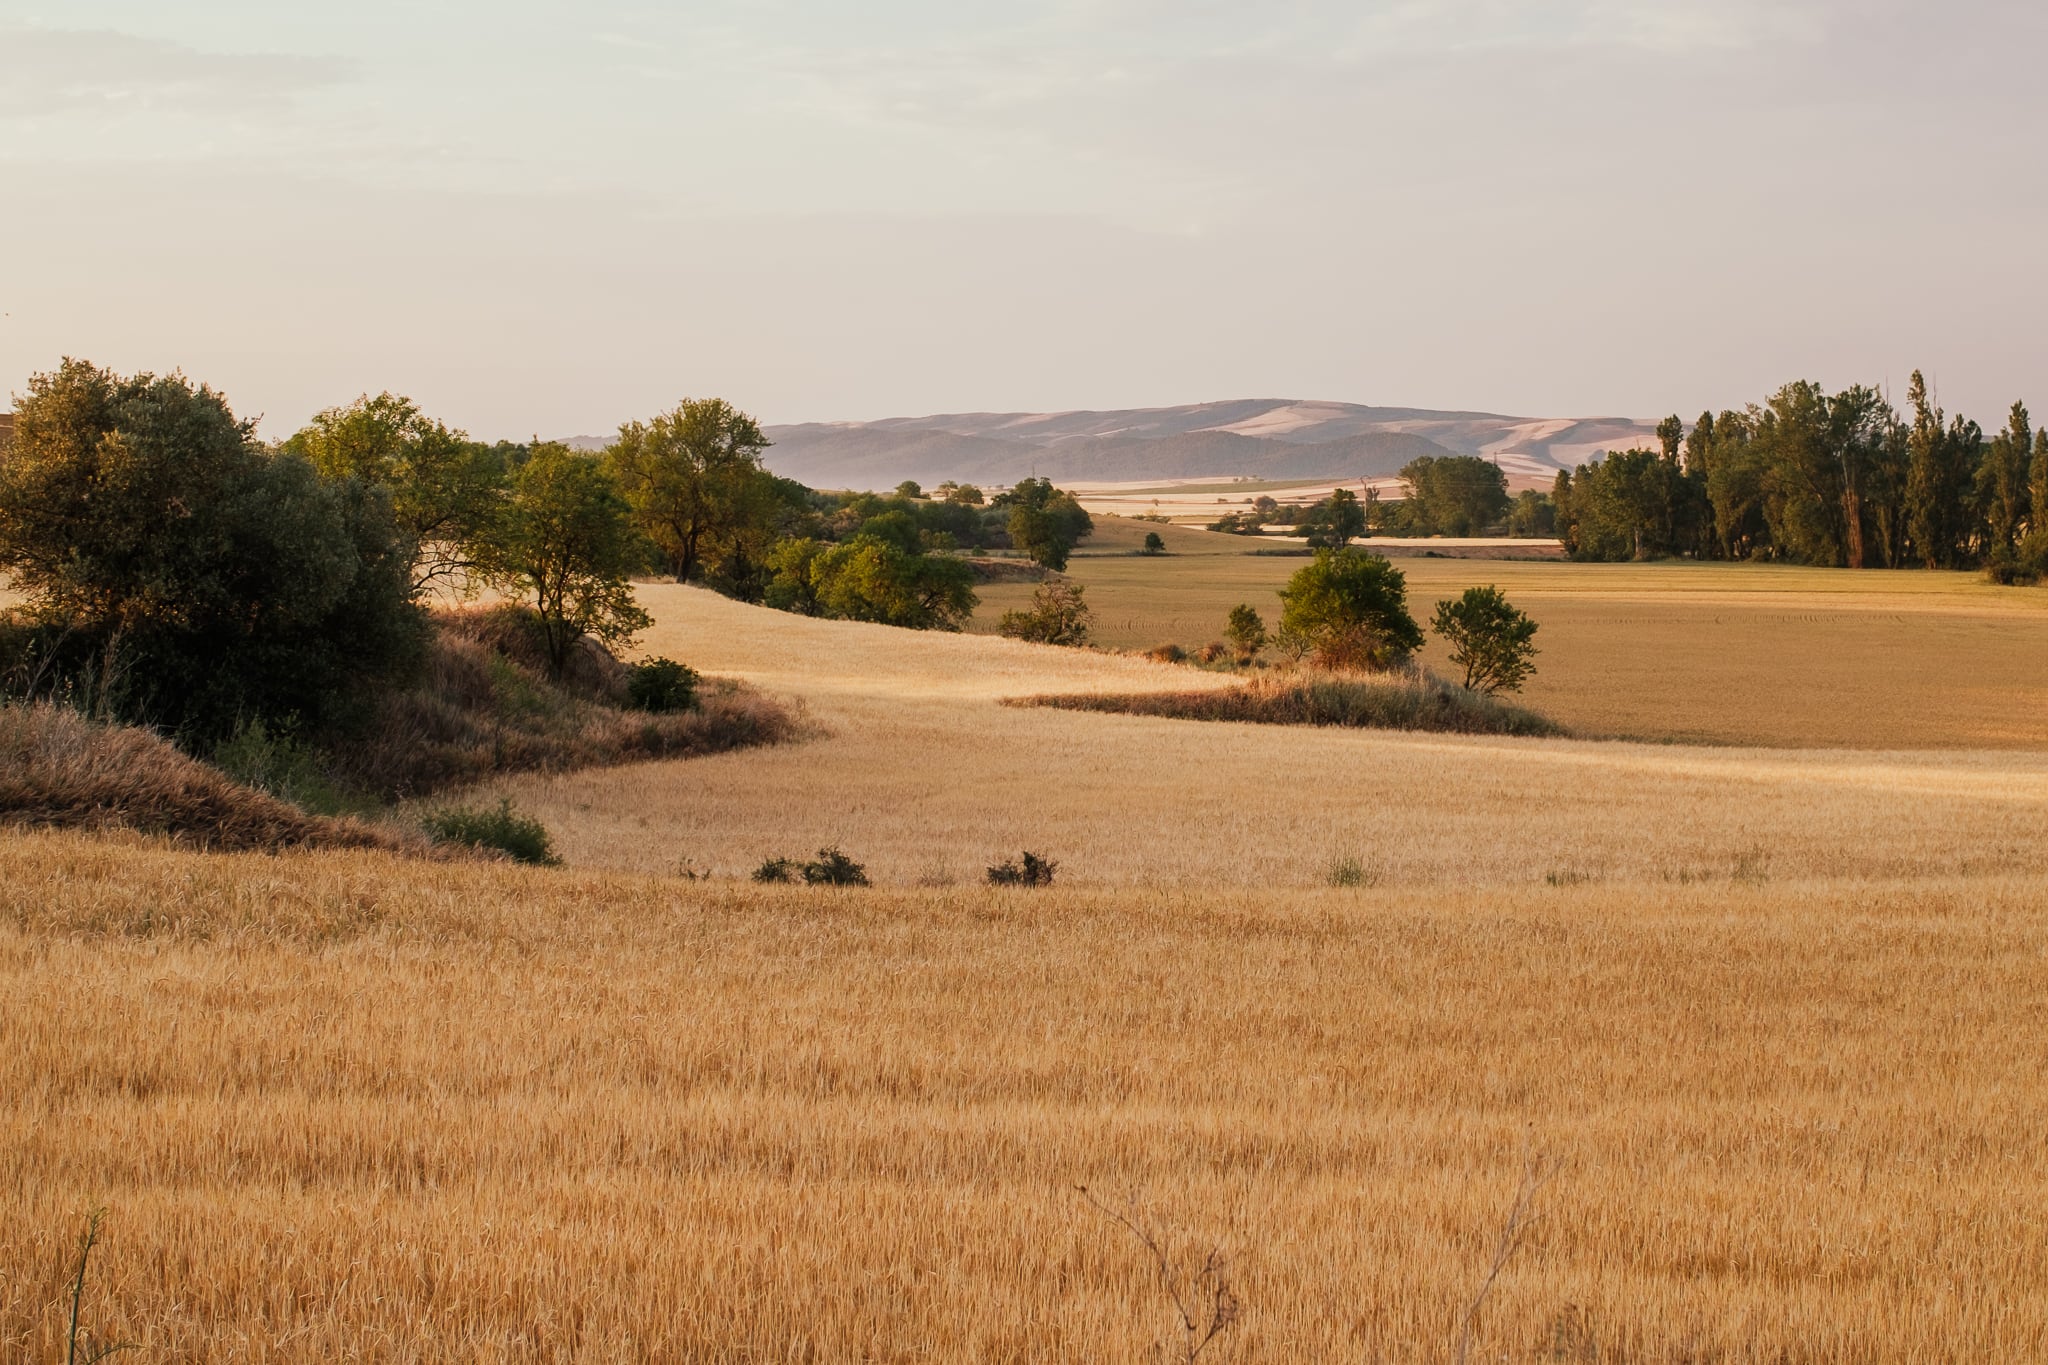
Lighting is, of course, one of the most important elements of photography. Typically, you will find the best lighting for photography during “golden hour” — approximately the first hour after sunrise and the last hour before sunset.
Luckily, on the Camino, you will see golden hour a LOT. It will generally be in the morning, shortly after sunrise — at least for photos while you are walking. In fact, you definitely want to avoid walking during the evening golden hour! (Since I walked in June, I was often in bed, actually, during the evening golden hour, as sunset was around 10 pm.)
While you are walking during golden hour, keep an eye open for particularly beautiful and flattering moments of light!
Edit your photos.
You can compose wonderful photos, but in a lot of instances, what will really make your photos shine is quality editing! Editing will help you crop your photos to create a more interesting composition, adjust for troublesome lighting, and enhance colors.

My RAW image (left) vs. the edited version (right)
I use Adobe Lightroom to edit my photos. If you’re new to editing photos, Lightroom might feel a little bit complicated for you. Helpfully, though, Lightroom does offer some presets — that is, premade collections of settings you can use to edit a photo with one click, rather than fiddling with a bunch of individual settings.
In fact, you can download three of my own Lightroom presets here!
For people who just want to do basic edits, especially of smartphone photos, I recommend using an app like VSCO, which has lots of good presets and is not difficult to figure out.
More Information About the Camino
THE BASICS | Start with an introduction to the Camino de Santiago and 15 important things to know about the Camino, and read about a typical day on the Camino.
SAFETY | Find out what to know about safety on the Camino.
FOOD | From typical meals to costs, here’s everything to know about food on the Camino.
GO IT ALONE | Here’s what you need to know if you’re thinking about walking the Camino alone (like me!).
EXPENSES | Just how much does the Camino cost, anyway? Find out here.
GET READY TO GO | Here’s what to know about how long the Camino takes, how to plan for the Camino (or not!), and 9 helpful ways to prepare for the Camino.
ITINERARY | Want to walk the Camino Frances in about 34 days? Read my recommended itinerary.
PACKING GUIDE | Everything you need to know about what to pack (and not to pack!) for the Camino, plus a printable packing checklist.
CAMINO FRANCES | If you walk the Frances route, here are 10 incredible things you can expect to see — plus my own Camino photo diary.
SHORT CAMINO | Here’s how to walk the Camino in just 5 days.
pin this post




Nice article – I remember seeing so many of those scenes on my own Caminos, well shot.
Buen Camino!